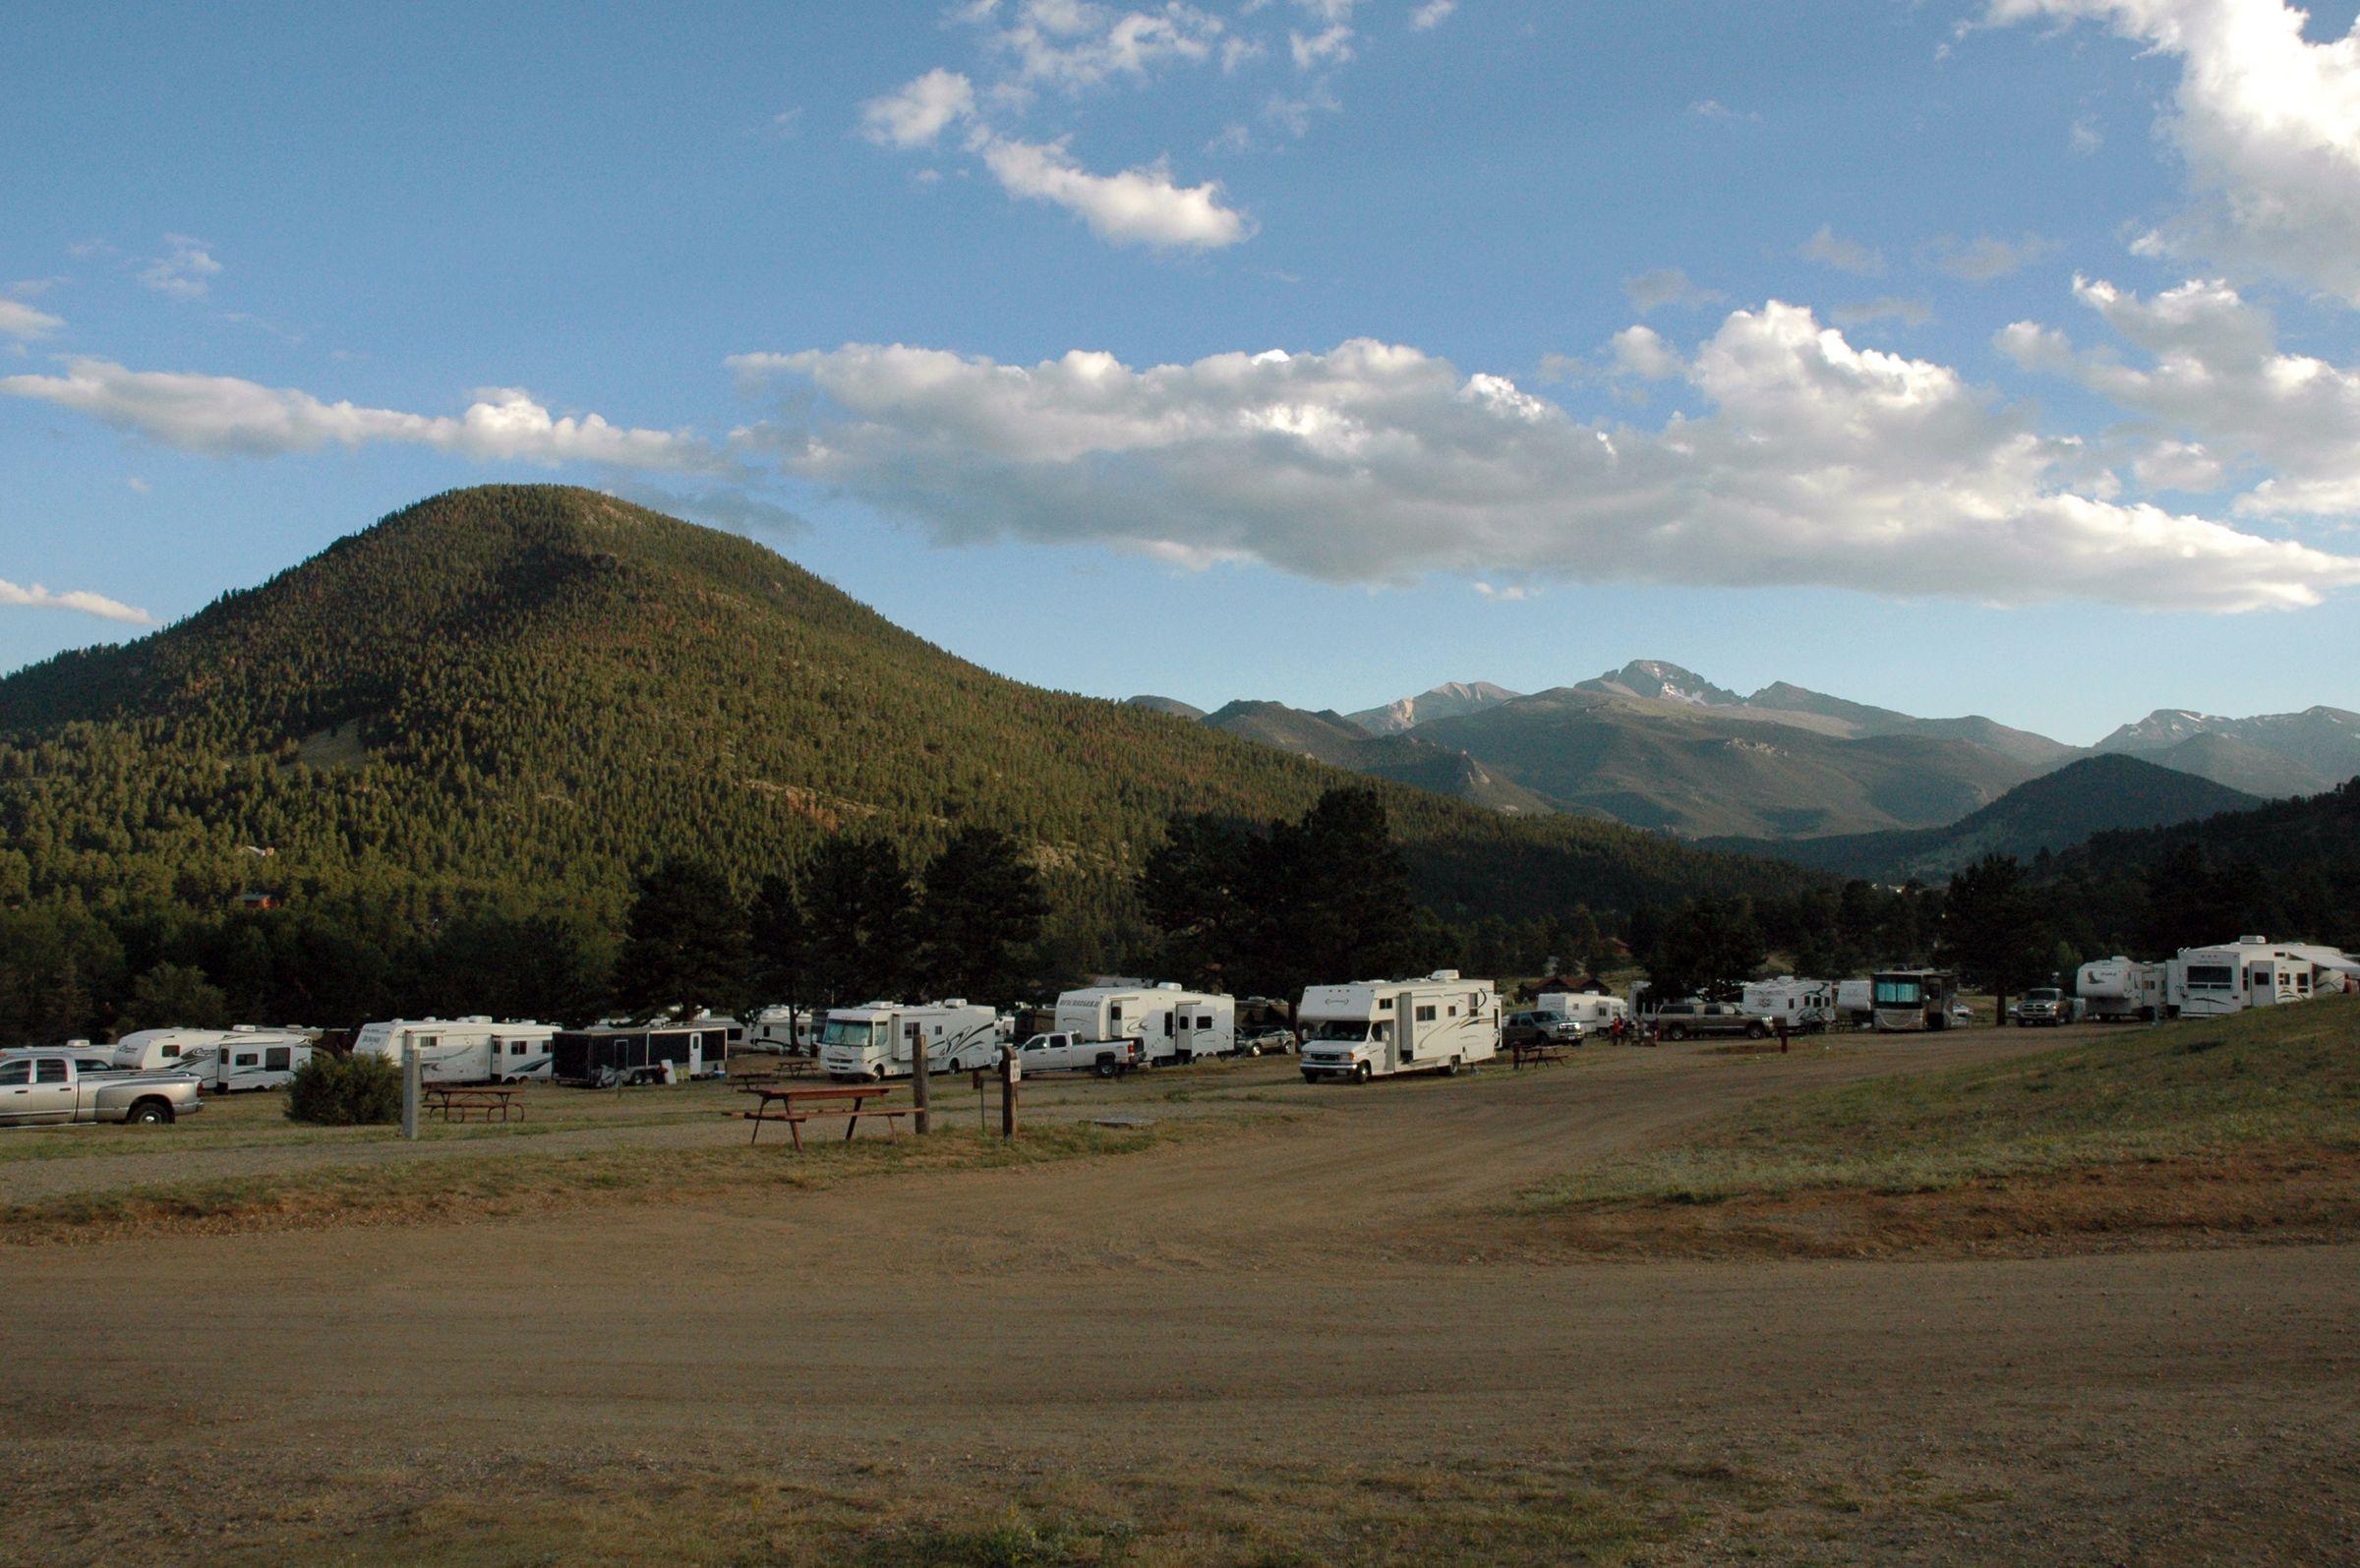
When to winterize
Winterize before the first hard freeze — temperatures at or below 28°F (-2°C) for several hours are enough to crack pipes and fittings. The exact deadline depends on where you live and where the RV sleeps: rigs stored in Minnesota need it by October, while a rig in southern Arizona might never need full winterizing. A weather app with freeze alerts for your storage location is the practical trigger. If you're still using the RV, see the "winter camping" section below instead.
What you need
- RV/marine non-toxic antifreeze (propylene glycol), 2 to 3 gallons for most rigs — never automotive antifreeze.
- An air compressor with a blow-out plug, if you choose the air method.
- A water heater bypass kit (often already installed).
- Basic hand tools and a bucket.
Step 1: Dump and flush the tanks
Empty the black and gray tanks at a dump station, flush the black tank if your rig has a rinser, and leave the valves closed. Some RVers add a cup of antifreeze to each drain's P-trap (sink and shower) later in the process — the traps hold water that can freeze.
Step 2: Drain the fresh system
- Turn off the water heater and let it cool, then drain it (remove the plug or open the valve) and leave its pressure relief valve open.
- Switch the water heater to bypass mode. Filling a 6 or 10 gallon water heater with antifreeze wastes gallons and makes spring flushing a chore.
- Open every faucet (hot and cold), the shower head, and the toilet valve, then open the fresh tank drain and the low-point drains. Let everything run dry.
Step 3: Protect the lines — two methods
Method A: Antifreeze. Close the low-point drains, put the water pump's suction line into a jug of RV antifreeze (or use a winterizing kit), and run the pump. Open each faucet one at a time — cold, then hot — until pink flows steadily. Flush the toilet until pink appears. Pour a cup down each drain. You need enough to fill the pump head, lines, and P-traps, which is why 2 to 3 gallons is the typical minimum.
Method B: Blow out with air. Screw a blow-out plug into the city water inlet and apply 30 to 40 PSI of air while opening faucets one by one until only air comes out. It uses no antifreeze and leaves the lines dry, but it doesn't protect P-traps, the pump, or the toilet valve — most people who blow out still add a cup of antifreeze to each drain and the toilet. Many RVers do both: blow first, then a small antifreeze chaser.
Step 4: Appliances and extras
- Fridge: defrost, clean, dry, and prop the doors open. Leave it off or on its coldest setting depending on storage temperature.
- Ice makers and washing machines: run their winterize cycles or follow the manual; they hold hidden water.
- Toilet: flush antifreeze through the valve and leave a splash in the bowl.
- Water filter: remove inline filters before running antifreeze — they're ruined by it.
- Exterior shower and spray ports: don't forget them; they freeze like everything else.
Step 5: Batteries, tires, and the outside
Batteries hate cold and self-discharge: remove them if you can and store on a maintainer in a cool, dry place. If they stay in the rig, disconnect and check monthly. Cover the tires to protect them from UV, and consider parking on plywood to avoid moisture wicking. Seal obvious gaps around plumbing penetrations, and add screens or steel wool to the water heater and fridge vents — rodents love winter shelter. Finally, remove anything that freezes, leaks, or spoils: bottled water, canned soda, food, and cleaning sprays.
If you keep camping instead
Winter camping skips full winterizing but needs freeze management: heated fresh-water hoses, heat tape on exposed plumbing, tank heaters or pad heaters, and skirted rigs in hard freezes. Keep the interior above freezing overnight (furnaces use propane fast), and know that even "four-season" rigs have limits. Many snowbirds solve the whole problem geographically — see our snowbird destinations guide for where the RV parks stay busy all winter.
De-winterizing in spring
Reverse the process: close drains, refill the fresh tank, run the pump, and flush every faucet until the pink is gone. Replace the water heater plug (inspect the anode rod if it has one), remove the bypass, and sanitize the fresh system with a diluted bleach solution — one tablespoon per gallon, circulate, sit for a few hours, then flush until the chlorine smell is gone. The first shower of the season should not smell like a swimming pool.
Frequently asked questions
Can I winterize without antifreeze?
Mostly, yes. Blowing the lines out with 30–40 PSI of air removes the water, but it leaves P-traps, the water pump, and the toilet valve unprotected, so most people add a small amount of antifreeze to those spots anyway. Full antifreeze protection is simpler and safer for beginners.
How much does it cost to winterize an RV?
DIY, $20 to $60 in antifreeze and fittings. A dealership winterizing service typically runs $150 to $300, more if they find damage. Doing it yourself pays for itself the first time.
What happens if I don't winterize?
Any water left in pipes, valves, pumps, or the water heater can freeze, expand, and crack its housing. Burst fittings flood the rig when you de-winterize, and a split water heater tank means a replacement. One forgotten drain can cost hundreds to thousands.
Do I need to winterize if my RV is in a covered storage?
Covered storage protects from snow, not temperature. If the storage area sees hard freezes, winterize. Only heated storage lets you skip it entirely.
Can I use regular antifreeze from the auto parts store?
No. Automotive antifreeze (ethylene glycol) is toxic and never goes in the RV plumbing system. Use RV/marine antifreeze, which is propylene glycol based and safe for potable water lines.